To add your logo to the subscribe and unsubscribe pages, you must upload your logo into NCR Customer Connect first. If your logo is already uploaded into NCR Customer Connect, start on step 2 below.
1. To upload your logo, navigate to Manage/Images and follow the article titled How to Upload a New Image.
2. Click on the Manage/Subscribe Options tab and populate Company Name, if it is empty and press Update Company Name.
3. Click the Select Image option.
4. Find your logo and click on the word select, located under the image.
5. Type in your Link URL and ALT Text and click Save.
- Adding a Link URL to an image navigates recipients to the link URL specified when they click on the image.
- Adding ALT text to images help customers see text content in place of images, without loading the image.
6. Click on Preview Subscribe and Preview Unsubscribe links to review what these links will look like. Make changes if necessary and preview again until you are happy with the results.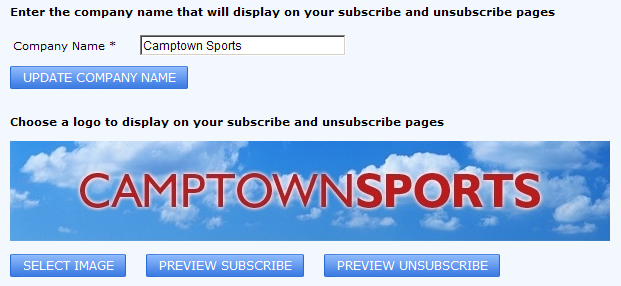
Important Notes:
- Unsubscribe data from NCR Retail Online and NCR Counterpoint Online is not currently shared with NCR Counterpoint, so their unsubscribe data must be updated manually in other applications that send marketing communications.
- If using NCR Customer Connect's subscribe form, unsubscribe data from NCR Retail Online and NCR Counterpoint Online is shared with NCR Customer Connect.
- NCR Customer Connect shares unsubscribe data with NCR Counterpoint (versions 8.4 and above).
- If using the built in newsletter from NCR Retail Online, NCR Counterpoint Online or any other application (not mentioned above), none of the data captured (unsubscribes, subscribes, contacts) is shared with any NCR application. This data must be updated manually in other NCR applications to keep the data in sync.
For more information about unsubscribe requirements, review the CAN-SPAM Act and Canadian Anti-Spam Law (CASL).