'Lists' or 'Areas of Interest' can be added to your subscribe page, giving you the opportunity to provide customers the information they want. After contacts are added to these lists, they can be used on Campaign/Step 4 to create segments and send targeted emails to customers with specific interests.
Click here for more information on how to create segments using a list.
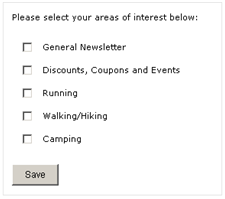
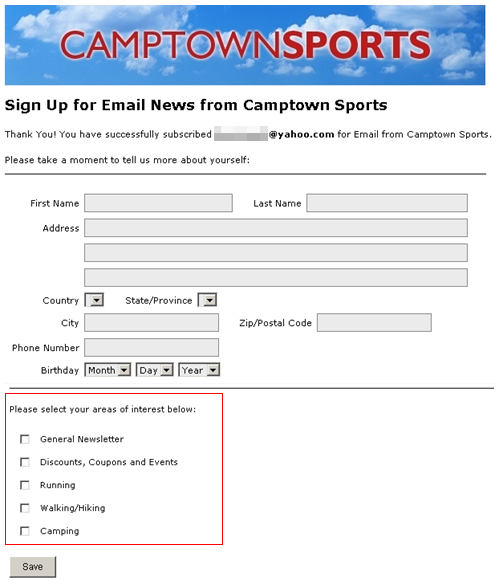
Here's an example of the section added to page 2 of the subscribe page:
To use this feature a list must be made Public and assigned a Display Order on the Manage/Lists tab. Click the links on the following 4 steps for further assistance.
1 - Review and rename contact lists and make them public
2 - If needed, upload a new list (an "empty" list) to the subscribe page and make it Public
3 - Assign a Display Order to all Public lists
4 - Preview the final Subscribe and Unsubscribe pages
Important Notes:
- Unsubscribe data from NCR Retail Online and NCR Counterpoint Online is not currently shared with NCR Counterpoint, so their unsubscribe data must be updated manually in other applications that send marketing communications.
- If using NCR Customer Connect's subscribe form, unsubscribe data from NCR Retail Online and NCR Counterpoint Online is shared with NCR Customer Connect.
- NCR Customer Connect shares unsubscribe data with NCR Counterpoint (versions 8.4 and above).
- If using the built in newsletter from NCR Retail Online, NCR Counterpoint Online or any other application (not mentioned above), none of the data captured (unsubscribes, subscribes, contacts) is shared with any NCR application. This data must be updated manually in other NCR applications to keep the data in sync.
1 - Review and rename contact lists and make them public
- Click here to familiarize yourself on 'How to edit uploaded lists', then return to this article
- Navigate to the Manage/Lists and review all lists uploaded to date
- If lists were created to target a special group or area of interest, this list may be a good candidate for the subscribe page.
- Review the list Name and determine if it's named appropriately for the subscribe page. If it's not named appropriately, rename the list.
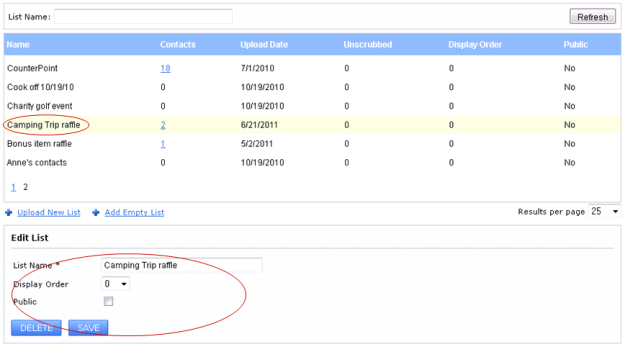
Here's an example of a list that can be used on the subscribe page, but needs to be renamed:
You have a list named Camping trip raffle, the contacts were gathered in a fishbowl at the store. It's obvious this list of contacts likes camping. To add new subscribers interested in camping (to this list), change the list name from Camping trip raffle to Camping. Making it general name enough to add it to the 'Areas of Interest' section on the subscribe page. This allows you to add new contacts to this list as they subscribe on your website. This list can be used to create a segment on Campaigns/Step 4, to target people who like camping.
- Highlight and click the list name you'd like to edit. This opens the Edit List box.
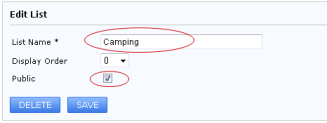
- To make the list available on the subscribe page you must make the list Public.
- In the Edit List section, change List Name to Camping and select the Public option and click Save. Selecting Public makes this list available on the subscribe page.
- Repeat these steps for all lists you'd like to add to the subscribe page.
Return to Top
2 - If needed, upload a new list (an "empty" list) to add to the subscribe page and make it Public
To capture new groups or interests, on the subscribe page, you must add a new list which has no contacts (an "empty" list).
- Click on the "Add Empty List" link, found on the Manage/Lists tab. The Edit List box will add a list named "New List mm/dd/yyyy", applying the current date.
- Change the List Name to what you'd like to see on the subscribe page.
- Select the Public checkbox to make it available on the subscribe page and click Save. Contacts will be added to this list as they subscribe to it on your website.
Repeat these steps for all new lists you'd like to add to the subscribe page.
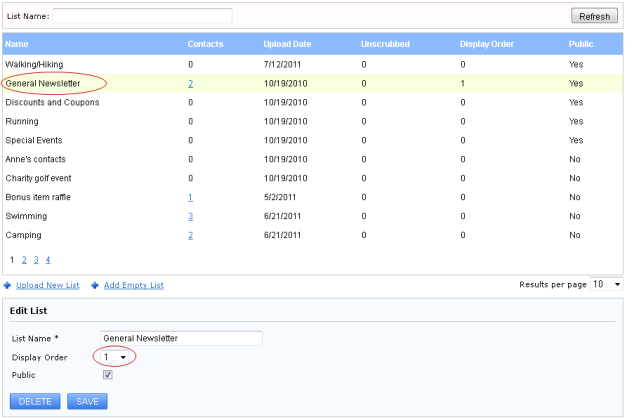
3 - Assign a Display Order to all Public lists
The Display Order decides the order of the lists on the subscribe page. If you select a 1 for the Display Order, it will be the first list available under the 'Areas of Interest'. If more than one list shares the same Display Order, the list is sorted by Name. To assign a Display Order to all Public lists:
- Click on the Public column, so the Public lists are at the top of the first page
- Click on the button to the left of each list name whose Public setting = Yes
- In the Edit List box, use the drop down box to select the Display Order and click Save
- Repeat these steps for each Public list
4 - Preview the final Subscribe and Unsubscribe pages
- After completing the steps above navigate to the Manage/Subscribe Options tab.
- Click on the Preview Subscribe button to preview your subscribe page. Here's an example:
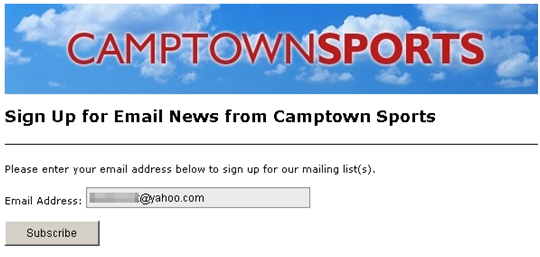
Subscribe page 1:
Subscribe page 2:
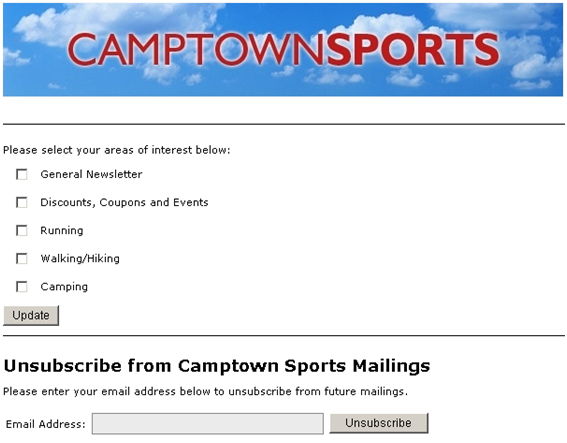
- Click on the Preview Unsubscribe button to preview your unsubscribe page. Here's an example:
If any modifications are needed to the list name or the display order, revisit the steps above.
Return to Top